

I did it.
I sucked it up and made Max's birthday cake.
I didn't want to.
But I knew that if I didn't I would regret it.
And I am so glad that I did.
The original idea comes from Family Fun Magazine

I used two cake mixes, four tubs of icing (could have got by with three), gum drops, and candy fruit slices.
Total cost with tax was $10.76

I set these two kids at the island to eat pizza and provide moral support.

When ever I make a birthday cake I always make some cupcakes too. They are great building blocks if I need them. The two round pans are pretty much the whole dragon. I made the oval pan, but ending up not using it.

A little person who was very helpful with clean up.

I wrapped my cutting board with tin foil to use as a sturdy base.
The dragon fit on it nicely.
The board measures 18 in by 24 inches.


Here is the cutting diagram for the second round cake, directly from Family Fun.

Here he is laid out as the directions recommend.
Except the front legs are laid differently.
And I did not love the way the tail was working...
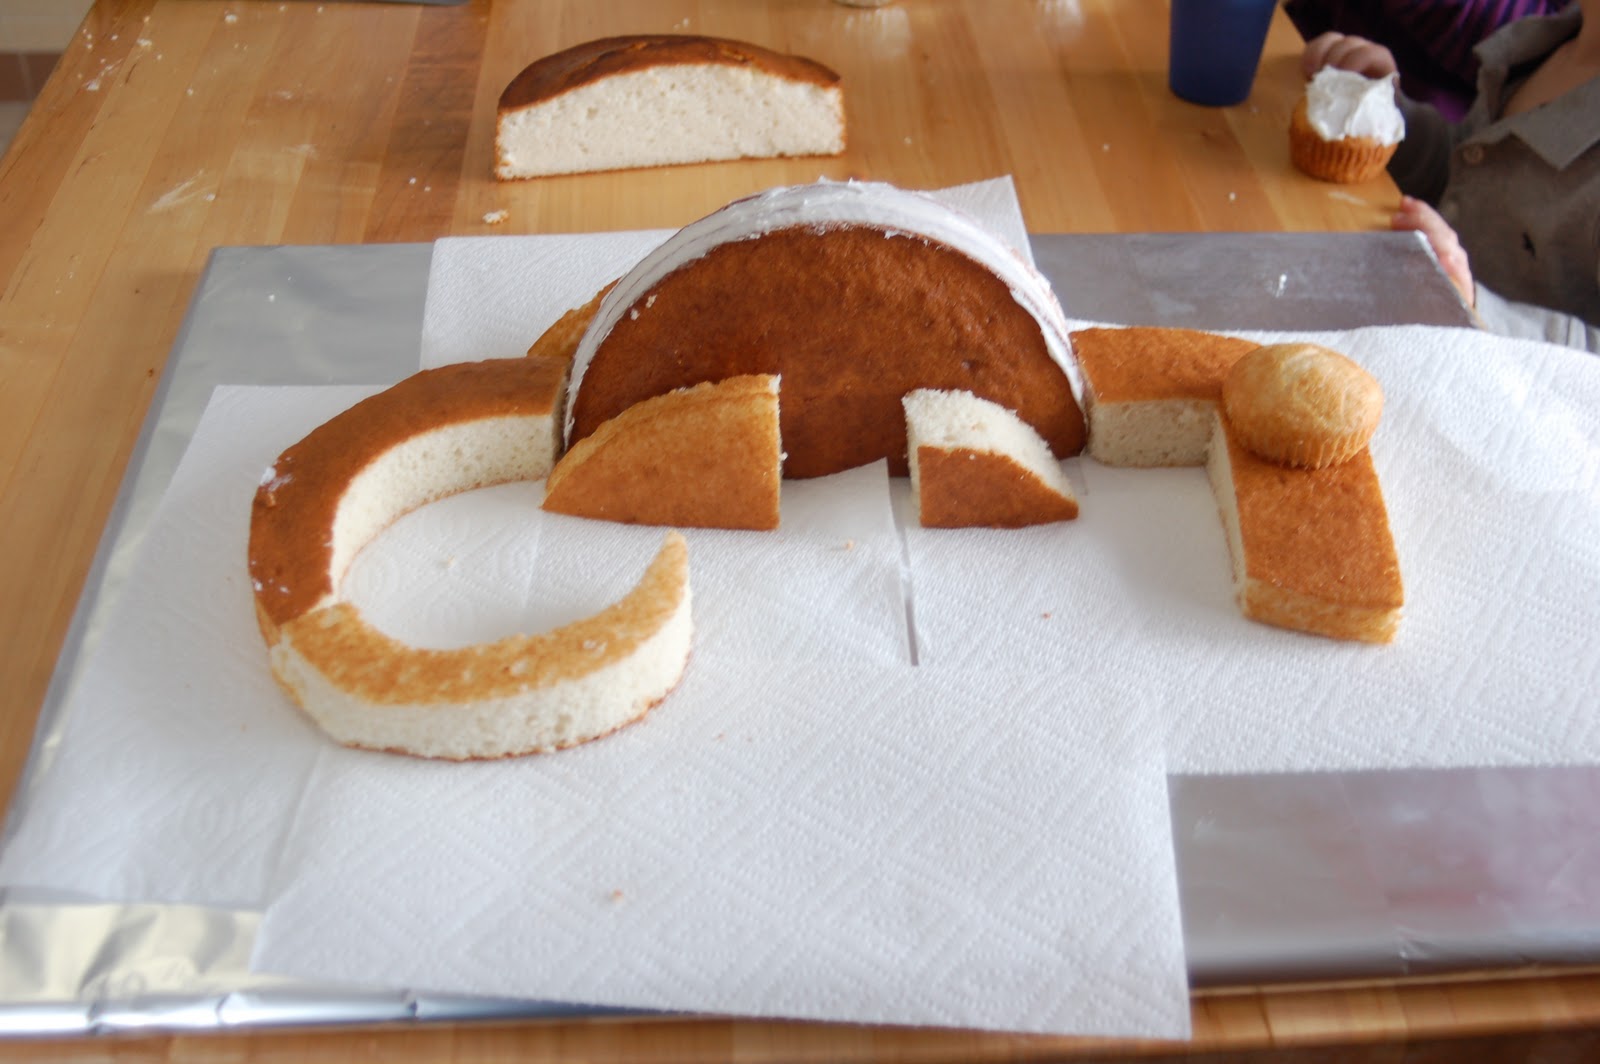
So, I curved it the other way.
Notice that I used a cupcake as the top of the head.
It looked too tall with the entire cupcake as his head -
I cut off the bottom third of it and fed it to the curly headed one.

Then I put on a crumb coat of icing.
A crumb coat really helps!
I used to skip this step many years ago, but now I make time to do it.
It makes the finally icing so much easier.
Like primer on walls.
Notice that I used icing to change the arch of his neck and he has TONS of icing around the cupcake head to make it look organic.
I left him in the fridge for 6 hours to let the icing set.

Lily painting this while watching me ice.

Then we got him out and iced him green
Lily placed the gum drops on him.
I did the fruit slices as claws on his feet.
The directions call for wings, but I forgot to buy the stuff for them.
We didn't miss them in the end.

I used red raffia to make the flames coming out of his mouth.
His eyes are white icing in a zip lock squeezed into a fat circle.
Then a chocolate chip point in as pupils.
His nose was scary.
I was afraid to screw it up.
I used a ziplock with extra green icing with a 1/2 inch cut in the corner of the bag.
You squeeze hard and slow to make the fatness of the nose.
Then I used my thumb to push in and give him nostrils.
The mouth was drawn with a toothpick dipped in black icing tint.
Once he made it to the party we added cashew horns.

I LOVE how he turned out.
But I wish I had taken the time to place a boarder around the bottom of him. It looked a little rough.
I like my cakes iced in buttercream, not fondant. I am not trying to look like a professional cake maker. I want my cakes to look like I made them. But the boarder still would have been nice.


Gorgeous! You did a wonderful job!
ReplyDeleteLove it! I may have to try to create something like this. It's a lot cheaper than getting a cake from the bakery at the grocery store.
ReplyDeleteLOVE LOVE!! I am craving frosting now!
ReplyDeleteI know you posted this awhile ago....I want to attempt this....but wanted to add the wings....do you remember what the original post used? I could not find it.
ReplyDeleteThanks Amanda