
I love gardening. LOVE IT!! Watching things grow and thrive makes my heart sing. Seeing plants fail burns me up and makes me research like a fool how to fix it for next time. I am not a pro yet. I think I could do this just about my whole life and still not have it all figured out. But here is the great thing about gardening - it is as complex as you make it. If you want to go nuts with companion planting and natural soil building mulch and planning your various staggered plantings - then call me because I love all that crap. But it doesn't have to be like that. People get so overwhelmed by the whole thing and don't start at all because they assume it is too complicated to even try. WRONG! Go for it. Just keep it simple. It doesn't have to be a big deal. Pick a few things that you like to eat or have interest in growing and do it.
Here are the dead basics for how to grow some of the most common garden plants. Please keep in mind that you don't have to have a perfect raised bed area to grow veggies. My first tomato plant was between some young rose bushes in a blank spot of my flower beds, right against my house. Find a sunny spot next to a young tree that doesn't provide much shade yet or in a corner of the yard. Don't over engineer this, you can build a dream garden eventually. Don't let yourself get lost in the voodoo of compost and improving your soil. You can learn all about that latter. This year just buy a garden spade (small garden shovel) and prepare to learn. It is ok if you fail. You're not going to starve to death based off your harvest. You still have the grocery store. Set your first year expectations at low and try to have some fun with it. If you only remember one thing - go small. You can go big next year, or in five years, but go small now. Pick just a couple of plants. You can grow it bigger next year, but its pretty hard to shrink your garden once it is in the ground.

Tomatoes - these are the most common home grown veggie around here. There is nothing that is a more exact slice of perfection than a warm from the sun tomato. These are very rewarding to grow at home but can be an little intimidating. They also are fairly hard to kill once they start growing, so don't be a scardy cat.
Who: The easiest thing to grow are cherry tomatoes but don't be scared of the regular tomatoes. The larger tomatoes come in a wide variety of colors and shapes.
What: I am a huge fan of a variety of tomato called Black Krim. They are dark purple and might look rotten to some. The flavor is unbelievable and this variety is easy to find. You can not go wrong with a Brandywine variety. If you go with a cherry tomato then pick Sweet 100. They are like candy. Walmart has a large variety of cheap and healthy plants. I think they sell for less than $4 a plant. Take a minute to walk around and pick something that looks interesting to you. If plain old red looks good - go for it.
When: Plant them after the last chance of frost. For us in central Indiana that is after Mothers Day.
Where: Find a blank spot in your flower beds or in your yard that doesn't have grass in it. A tomato plant needs about three feet of ground space to grow in with no competition. Visualize a three food wide circle and plant the little tomato in the middle of that. It will seem like too much space for such a little cutie but that thing will grow like crazy and need that much room. You need a spot that gets as much sun as possible. Tomatoes love sun and they like heat. Give it to them.
How: Dig a hole that is about twice the size of the pot your plant comes in and plant your plant. Don't get crazy with this. It's that easy. Some plants come in a peat pot that you can plant directly into the ground. Read the directions on the plant to make sure. You can make this simple step very complex if you want. Feel free to write a thesis paper on the planting process. Or just dig a hole and plant your plant. It's ok to plant a tomato plant a little too deep. He will forgive you. Better too deep than too shallow. From there you just water him when it is dry out. You can use a hose or a watering can. There are lots of theories on how to water a tomato. To keep it easy for now, let's just stick with the idea that if you stick your finger one inch into the soil right by your plant you should be able to feel moisture. If not - then water that plant. When its hot he will need more water, if it rains he will need less. If his leaves look wilted and sad, give the guy a drink. Tomatoes are pretty forgiving of the occasional over watering and start to look pretty obviously wilted with not enough. When it starts to really get hot out you can help your plant hang on to his water by putting mulch around the base of him. If a plant starts to grow in your tomatoes three foot circle that isn't your tomato - pull it out. After the plant gets a good hard frost, October for central Indiana, it will be dead. Pull it out and start dreaming about next year.
Important Tip: When you're at the store pick up a wire tomato cage. You plant your plant then you push the cage into the ground around your plant. It will grow up through this cage. We cage tomatoes to help them stay off the ground to make the fruit rot less quickly and stay away from bugs that think they look tasty.
Extra Credit: Most neighborhood flower beds have crummy soil. Buy a bag of planting soil while you are at the store. Dig your tomato hole big enough to fill it with this high quality soil and then plant your plant in this supplemented hole. It will help your plant grow even faster to have nutrient rich soil to grow in.
For Next Year: Look up some articles about how you can trim a tomato plant to improve the fruit it produces. You will still get fruit from an untrimmed vine, but the quality will improve with some vine trimming. These plants can get pretty crazy, so a good trim helps keep them under control. Google tomato trimming and load yourself with all the information you want.

Peas:
Who: There are lots of different kinds of peas. Some have edible pods and some do not. We usually grow sweet peas that are designed to be shelled and eaten. Read the seed packets and look for key words like "edible pods". Some sweet peas will say they are "self bracing", this means they don't need anything to lean on to grow upright. The types that are not self bracing will grow like a short vine on the ground or cling to fence/brace if they can find it.
What: I usually plant sweet peas that lean on my fence. They are delicious and my kids love eating them. I find the shells all over the yard and even with 60 feet of them I have never had any make it into the house. My kids get off the bus and run to the peas to pick through them. They are so sweet when they are young. Don't be afraid to crack a few open early. Once they get too big the peas taste like wood so eat the young ones up.
When: Early! These are one of the first things I plant. I put them in around April 1st. If the weather is even decent I have planted them as early as mid March.
Where: Look for a sunny spot but they don't need as much full sun as tomatoes. They do fine in a mostly sunny area.
How: I live in an old brick ranch house, with a cement front porch that gets partial sun. Every spring I take a rake and pull back the mulch from the first six inches of surface ground directly in front of the porch. I take a stick and make a one inch deep trench running the length of the porch about three inches or so out from the porch base. I randomly sprinkle pea seeds (which look like peas - because they are) about 2-3 inches apart. Don't measure. Don't get crazy. I plant them closer than the seed packet says to. They like friends to snuggle with. Then take that rake and cover the seeds with the extra dirt. When my pea plants start to come up they begin to climb the little willow fence I have leaning against the porch base. You could easy use those cheap wire short fences to do the same job. Even sticks stuck every six inches or so in the ground right at the porch base would give the peas plenty of area to climb. They climb what support they can find and then they just climb each other. They pop up out of the ground pretty quickly and will have a small flower on them. That flower is what turns into a pea pod. If you crack a few pods open and the peas are almost not visible then they are not ready, but keep trying! Early peas are the best peas. Once the plant stops making pods it is done. Usually that happens about mid to late summer. When you are no longer getting pods rip that plant out. The plant makes a wonderful soil builder so I use the pulled plant to mulch around my tomatoes.
Extra Credit: Plant two harvests of these to keep pretty peas in your garden longer. Put you first harvest in around April till mid May. In a different spot plant some more seeds around Early June for a early fall harvest.
For Next Year: Grow more. These rock. If you can grow enough consider freezing some for winter. Snap peas and snow peas are perfect for freezing in small quantity to add to winter foods.

Carrots:
Who: Unless you have a raised bed that is filled with perfect fluffy soil and is about three feet deep, get the visual image you have in your mind of a foot long carrot and lock it in a box. There are lots of really tasty short carrots that work much better in the average garden.
What: Every year I walk into the store and just grab a variety of carrot seeds that mentions something about it being tasty and on the short side. Usually less than six inches. These seeds are tiny and a little bit goes a long way.
When: Early like peas. They are tolerate to cold. Harvest is generally in the mid to late summer.
Where: These need an area where the soil has been loosened up for at least the first 4-6 inches or so. I would utilize an unplanted portion of you flower beds, but these would work great in a potted environment too. Rake off all the mulch. Use your little garden spade and loosen the dirt. That means put the spade straight down into the soil as far as it will go. Wiggle it around and pull it out. Cross cut the area you already did. Work your way over the area you want to plant. Your not looking at a 40 square foot area so don't balk at the work. It would take less than ten minutes to do a three square foot area and three square feet would provide a TON of carrots. Rake your loosened soil to make the planting surface smooth, not perfect. This should take about 60 seconds, don't stress out.
How: Sprinkle some seeds around the area you have prepared. Ideally you want them all about one inch apart, but don't you dare get out a measuring tape. Once they are on the ground take a rake and gently rake the seeds in. Just very light pressure to help the seeds sink in a little bit. You don't want them deep. If raking them makes you nervous then before you put the seeds on the dirt, set aside a few handfuls of dirt to sprinkle over the seeds once they are down. Little green carrot tops should spring up pretty quickly. The orange part will be under the ground, and usually starts off a whitish color till it matures. Your seed packet will tell you about how long it should take for your carrot to be mature. When the tops are about 12-18 inches high I start letting my kids pull out one every day. Many get fed to the chickens for not being ready yet but my kids love seeing whats happening under the ground. Usually by that point my carrots need to be thinned a little bit anyway. Thinning means that the seeds are close enough together that if they all went to full maturity they would over crowding each other. When the kids want to check a carrot I make them pick the one that is the most crowded with its neighbors. Once the carrots are coming out orange and tasting good you can pull them out all at once or you can pull them out over time. When they start to taste woody or bitter - they are done. I pull them all out at that point and use them or freeze my extras in a vacuum sealed bag.
Extra Credit: Really get your shorties in on planting these. It is amazing what kids will eat if they feel like they grew it. Carrots are easy and fun for kiddos to help with.
For Next Year: Its really not any more complicated than the first year. You can branch out and try new types, colors, or shapes.

Cucumber:
Who: There are two main types. Short little fat guys for making pickles or long skinny guys for fresh eating.
What: We have varied over the years with what types we grow. I don't really have a favorite. I grow what ever is left in garden basket from the last year or what ever one looks interesting on the seed wrack. You can eat the short little fat guys just like the long ones if you want to. A little bit of cucumber goes a long way for me. I let 3-4 vines mature each year, and that is more than I know what to do with half the time.
When: Like tomatoes then don't like to be cold. Plant seeds in the ground after last risk of frost. You can buy them as already started plants if you prefer, but seeds are cheaper and I have never had long to wait for cucumbers to start growing.
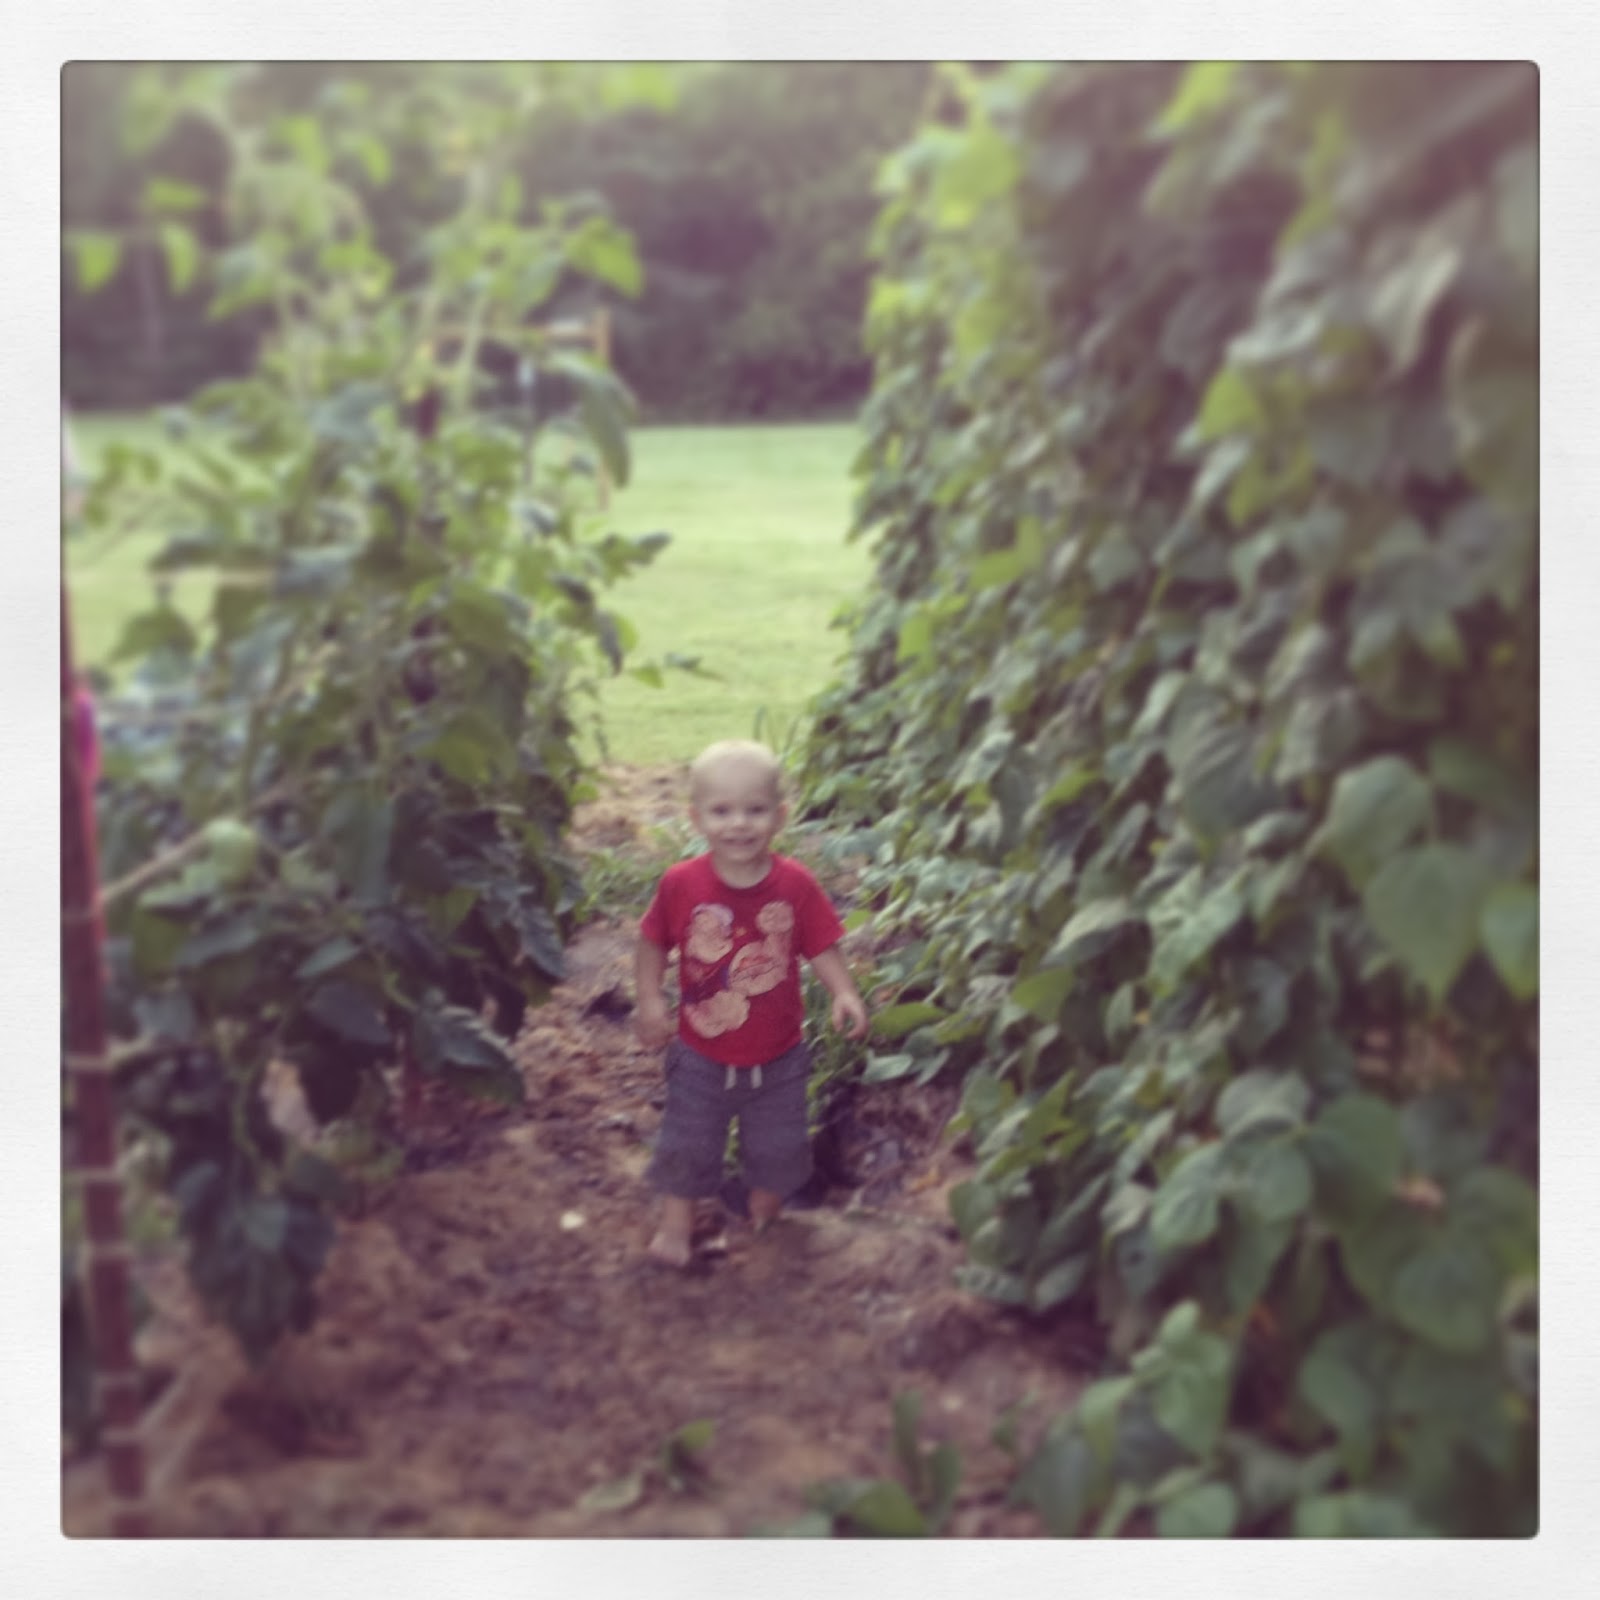
Where: These guys need sun. Lots of sun. The good news is that they are a vigorous vine - which means they are hard to kill. They will take up about as much space as you will let them have. They would work wonderful climbing up a fence. If you had a wooden privacy fence and gave them a few nails to catch on to, maybe even a trellis, they will drag themselves up in no time. You can leave them to sprawl on the ground but keep in mind that you will need to cut them back when they start to knock on the neighbors front door.
How: Find a spot where these guys can roam. If you are going to let them climb up a trellis they don't really need a great deal of ground space. I have a piece of chain link fence attached to two posts that I move around my garden perimeter every year. Visualize a six inch half circle of space nestled right against the garden exterior boundary. Stick your finger into the ground to make a two inch deep hole and put three cucumber seeds in that hole. As the plants start to spout you will need to thin them down to just one. Don't pull the extra out, because they might take their neighbor with them. Simple cut off the ones that you don't want at ground level and allow the strongest one to keep growing. As it gets larger you may need to direct it towards its trellis. Once it grabs hold of the trellis it will usually climb pretty much by itself. Any vine that grows outside the area I have set aside for them I just cut off. You need to water these guys just about like tomatoes - if its hot and dry give them more water. If you plant the skinny kind, as they grow you want to pick off cucumbers as they get to be about 6 inches long. Much longer and the flavor isn't right. Once they get a true hard frost they will die. After that you just pull out the dead vines.
Extra Credit: You don't have to use a trellis but it really does help. Think about it this way. If you let them grow up that is surface area that you don't have to weed. You would only have to weed right around their base. If you plant them on the ground you have to keep every bit of soil they touch weeded. AND these guys will spread like crazy. The leaves have small pokey things on them and they are not super pleasant to touch and weed around.
For Next Year: How about a pretty trellis? You can find lots of great ideas for making a trellis on pintrest. You could take turns growing different vining plants on it. Like green bean one year, then cucumbers, then maybe a a flower like morning glory. I think this would be a nice way to pretty up a plain old privacy fence.
As this post grows and grows (pun intended) I decided to write a separate post coming soon on how to get started with strawberry's. Stay tuned :)


Love this post! Thanks so much for the tips for someone like me with hardly any experience at this. I am bookmarking this page for sure.
ReplyDelete