Friday, October 20, 2017

::barn shop remodel::

When we first toured our farm it had two big selling points:
1.  The land was the right size/location and it was PRIVATE
2.  It had the most monsterously cool old barn

I'm not joking about the monstrous part of the barn.  It's around 12,000 square feet of really old barn.  It used to be a large working dairy farm, but about 25+ years ago it was sold to a family that wanted the barns for storage.  Eventually they turned the house into a rental - which is how it ended up in the state it was when we bought it.  The barn has a really awesome cement block area that was begging to be redone.  It has three rooms, one large main room and two side rooms.  I feel like with lots of work from Josh and encouragement from me - these rooms have become what a very sunny basement would be to most people.  A dude room, a study, and a studio. 

First Josh tore out the shop ceiling which was dying a slow death. 
He also removed the no longer functional furnace.  

This awesome old sink was in one of the side rooms.  We carefully removed in and are storing it for a future use that has yet to declare itself.  I thought about trying to use this in my kitchen but it didn't work.  

Now the side room is being used for storage, but at least its window has been repaired.  Eventually it will be turned into a study.  

The main room needed some major love.  
See the missing ceiling?

We painted it cubs blue and grey.  

Josh added in some awesome built in cabinets.  
Chairs from my dad, Josh's dad, and Josh's grandpa are providing seating from three very different eras.  
It looks a little like the three chairs in Goldie Locks.  


The other side of the main rooms shows what a hot mess ripping out the ceiling was.  
Raccoon poop and old insulation = facial mask.  

This is the main entrance into the largest room in the shop. 


Here is a picture of the ceiling joists being replaced.  

Starting to come along with new ceiling and paint.


And dressed up with floor paint and furniture.  
Phase one for this room is done. 

He is the corning of the third room in the shop.  
Look at all that amazing natural night.  


And here is that same corner after it was all fixed up and we talked Josh into giving it to Lily and I as our art studio.  

We quickly put in our supplies.

Including an old Mountain Dew bottle we found in the barn.  

LOOK AT THAT LIGHT!!!
It makes my hearty sing.  
This room is getting lots of use and will never be this clean again. 


Friday, October 13, 2017

::mudroom - salvaged cabinet::

This is a picture of one of the rooms in our barn from the first time we toured it.  See my cabinet across the back wall?  It had water dripping on it from a leaky roof and the bottom of it was eroding away to the point that it was only being held up by the open doors. 

Once I got the doors moving a little I started to really see how much potential this cabinet had. 

Josh got it out in the sun and I power washed it.  
 But I knew I was going to have to put some serious work into dealing with the spray paint.  


This was after some serious power washing. 

More power washing.   

And more work.  
Why did the paint so easily come off one side and not the other?

But I did finally get enough of the paint off the doors.  I never wanted it to look brand new, it has age and it should look it.   


Josh fixed the bottom of the cabinet and installed it.  

Here it is from the door as you walk in the house.   

The mudroom still needs lots more work but this cabinet gives us lots of storage.  


Saturday, October 7, 2017

::a farmhouse kitchen::

The kitchen in this house... The plans changed about 15 times.  But I can hardly believe the final product.  The plan was always to have it open to the dining room and living room.  The sink was always going to be a deep one basin metal sink with windows above.  But from there everything moved and grooved.  Bless my true love and designer/builder Karen for tolerated my CONSTANT changes and desires. 

Here is my original post about the kitchen that has layout pictures and plans.  Lot's changed since then, including changed my mind about a green island.  I love the way it did end up.  


Here is the very original floor plan for renovation.  
Note the kitchen - window of the sink was smaller and fridge was against that same wall. 
Upper cabinets wrapped about.  
Pantry was slightly smaller.  
Island was smaller.
And a whole lot more.  
Here is the final floor plan from what we actually live in.  
It's rotated from the last picture but I am done arguing with this blog program about how to change it.  


Here is the original floor plan when we bought the house.
Rotated again.  
Mudroom in with odd shower in the middle of the room and tiny half bath.  
Odd back bedroom with closet and  stairs to the basement.  

Here is the zoom in on the actual kitchen.
Double oven and fridge built in along one wall. 
No upper cabinets or shelving.
36 inch cook top with hood.
Huge island that seats six. 
Built in microwave in the island.  

Here is the kitchen when cabinets just went in.  
We made a mock up of our island top to get the idea of it.  

Then the floors went in and counter tops went on.  

When the island top went in the shorties were pleased.  

We used reclaimed beams for the house to make the legs for the island.  

The cook top hood is covered with the original wood siding from the house that we found in the barn rafters.  

We used some more reclaimed lumber above the fridge and ovens to fill in the gap above the cabinets.  

The microwave is built in to the end of the island.  

The amount of natural light that comes pouring in all day makes me so happy. 
The vaulted ceilings were an addition that Josh came up with that adds to the awesome factor.  

The pantry is Max and my's favorite room in the house.  We added a window to it last minute and it makes it so bright at cheerful. 

The vanity on the left was going to be in my master bathroom but was damaged so it got replaced and the old one found its way into the pantry.  We put our drink fridge next to it and added a butcher block counter on top. 
The cabinets on the right are my old kitchen island that my father made.  We took the old butcher block counter, stripped it, and narrowed it.  It works like it was made just for that spot.  

Figuring out where to put everything is still a work in progress but it is coming along. 

Here it is even more loaded up.  
  
This is the right hand side showing my old island.

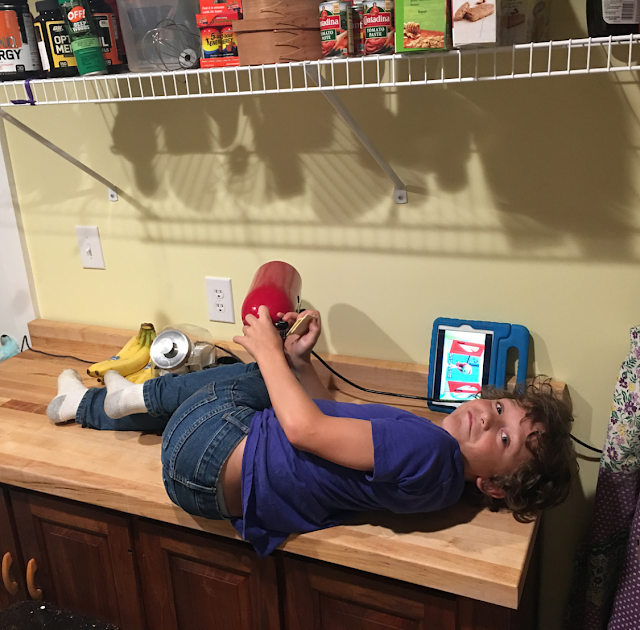
I told you it was his favorite place!  
He knows how to get comfy.  
Notice the screen locked so it will not rotate?


Friday, October 6, 2017

::party barn - ladder chandelier::

I have this great old beat up ladder that was on my farm when we moved in that has been begging to be made into something re-purposed.  
I ordered some cheap lights and stabled them on.  

I picked up some cheap ribbons.  

Quinn helped me try ribbons on.  

We decided to just ignore the broken run.  


Josh brought his skills out to add wire.  

And then he hung it in the rafters of our party barn and attached it to electricity.  


I'm really pleased with how it turned out and total cost was less than $25.  

LinkWithin

Related Posts with Thumbnails